The Decision Logic News feature gives users the ability to add news stories such as messages, alerts, and a scrolling banner to the main landing page of the platform. This is an excellent tool to communicate to users about upcoming events, changes, and the like.
These messages are only visible if your brand's landing page is the Welcome Page. If the landing page is different, such as the Dashboard, the messages will not appear upon login.
Menu Site Navigation
Maintenance > General > News Maintenance
News Maintenance Overview
Once inside the platform, you can access this page from another page by clicking the Decision Logic logo in the top-left corner or following the site navigation.

From the news maintenance page you will see three tabs:
Welcome Message
News Stories
Sections

Create Welcome Message
Decision Logic admins can create an on-brand welcome message for users when they log in. The message can be designed in the editor, including an HTML format option. Follow these quick steps to use the design editor.
On the Welcome Message tab, click Edit.

Use the Ribbon to design your message by editing the font style and size, color, add links, build tables. and more!
To add images, you must use the HTML feature.
Click Preview to view the final appearance of your Welcome Message
Click Save after all edits are made.
![]() A best practice is to copy plain text into your editor. Otherwise, the formatting could have conflicts.
A best practice is to copy plain text into your editor. Otherwise, the formatting could have conflicts.

Create Sections
Before you create new stories, Decision Logic recommends that you consider how it is presented by first creating Sections. Sections help brands organize announcements or messages by category.
Click Sections
Click Add New
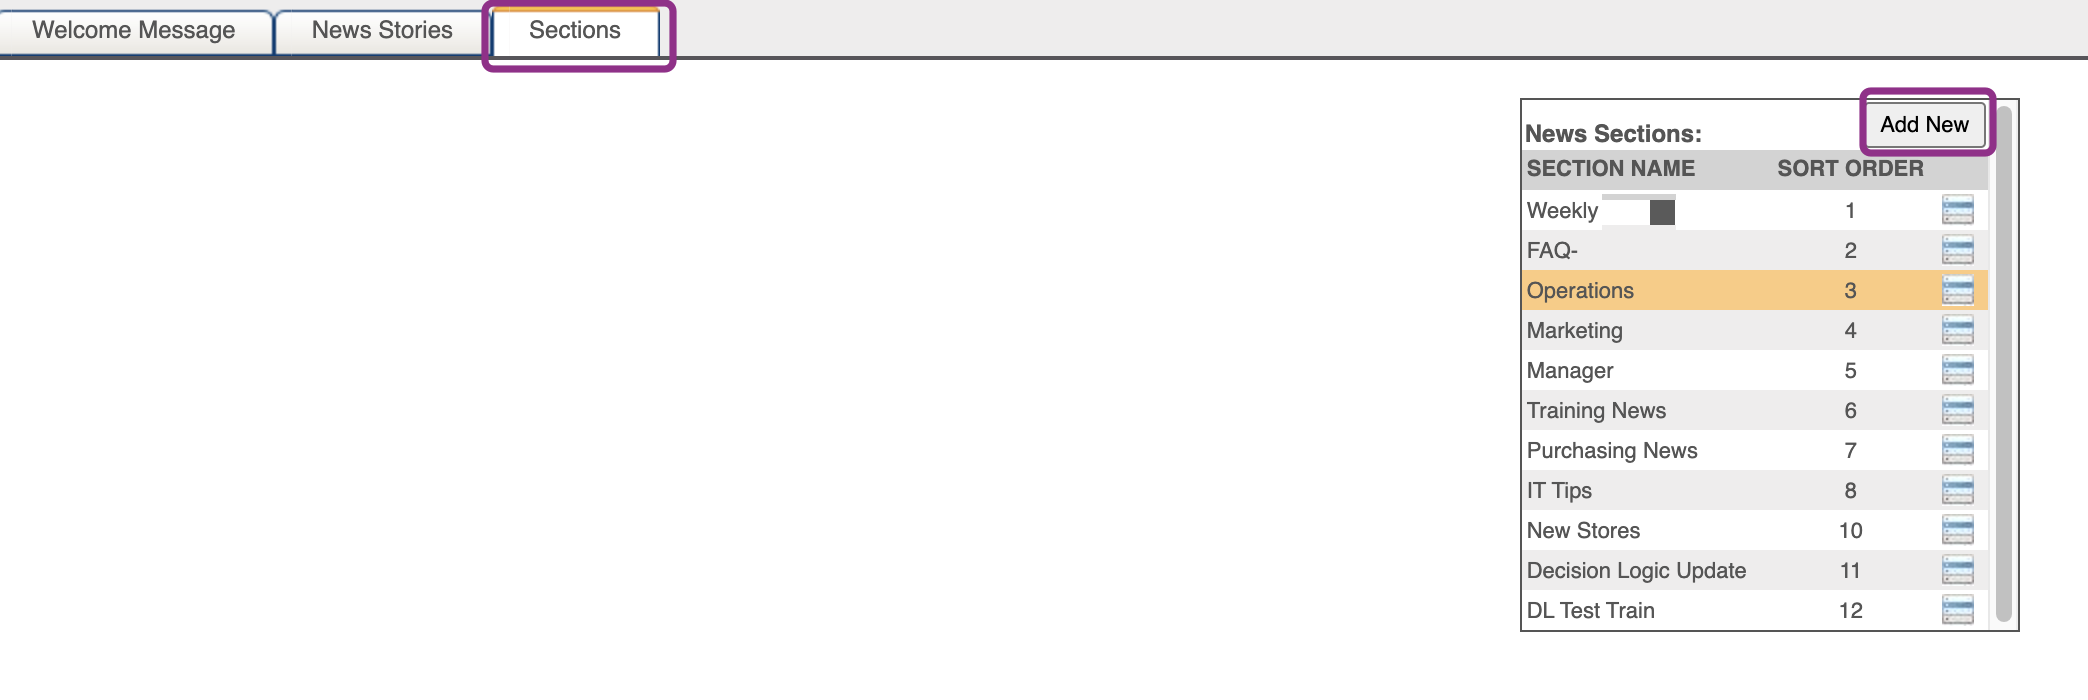
Create a Section Name which will become a new category to assign messages
Input a numerical Sort Order
Sort Order - Displays messages in order under the My News section on the Welcome page.
Click Save

Sorting Appearance:

Create News Stories
News Stories allows users to create a new message, announcement, alert, or scrolling banner and set a schedule for when the message will be displayed. Let’s take a look at how to create one of these options and schedule it to go live.
Click the News Stories tab
Click Add New. This will enable the editing tools below to create your announcement.
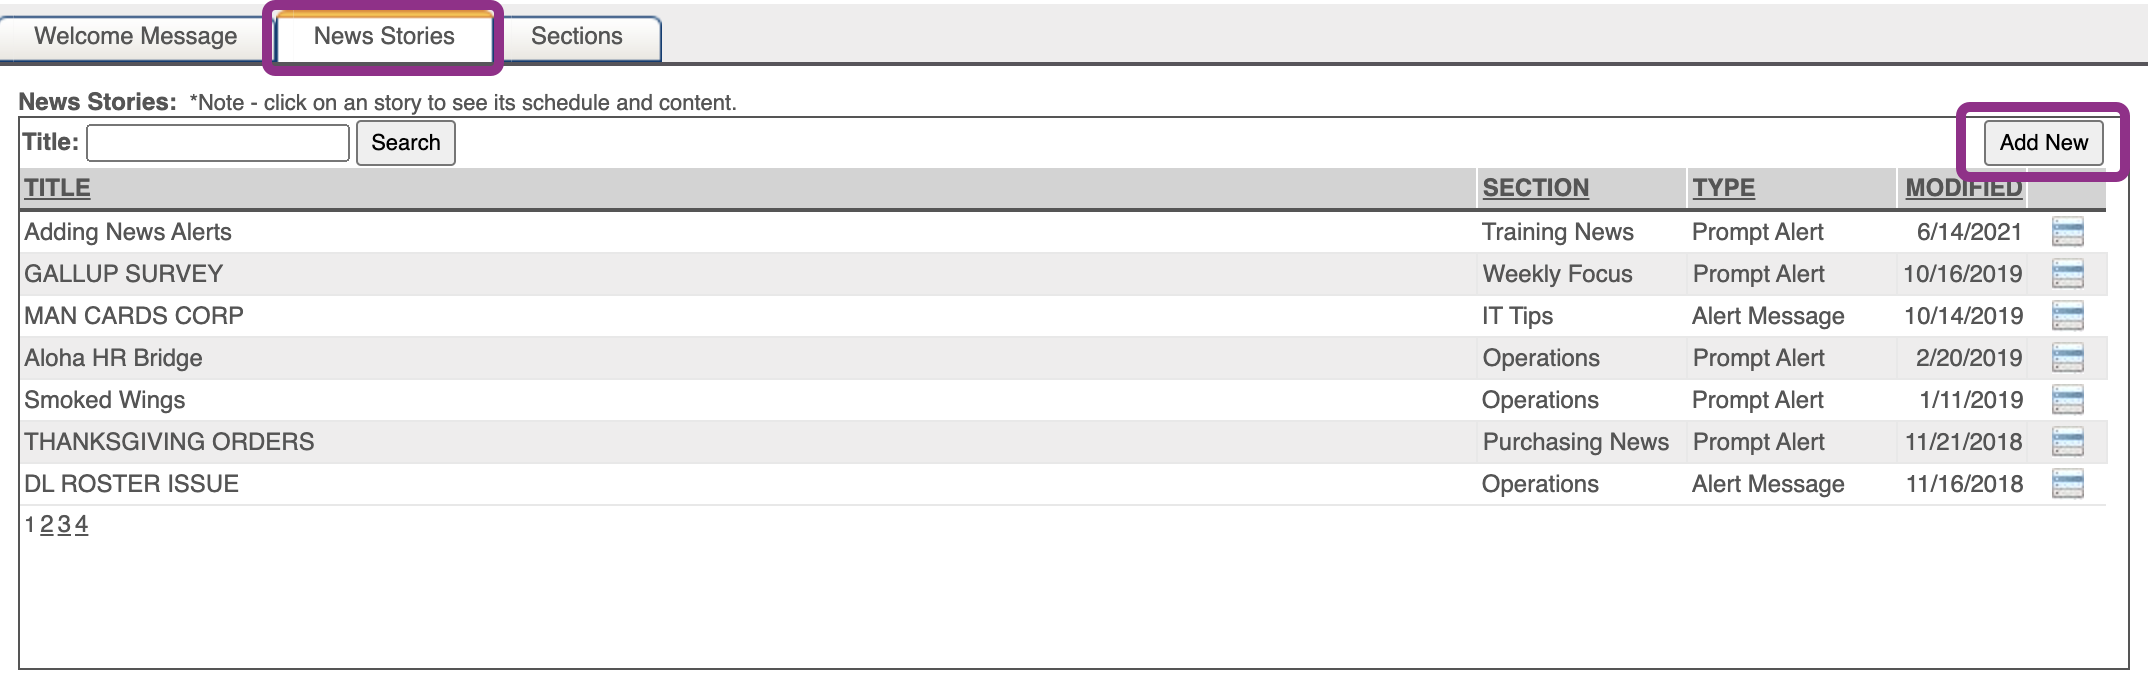
Give this announcement a News Title, select the Section, and determine the Type.
New Title - Users will see this
Section - Where the message will appear
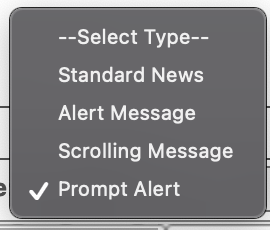
Type - How the message is displayed
Standard News - Displayed on the main canvas
Alert Message - Appears in red on the main canvas & within the Alerts sections
Scrolling Message - Scrolling banner that appears at the top
Prompt Alert - A popup dialog box that prompts users to acknowledge the message or remind them later
Insert your message in the field
Select Preview to see the final design. HTML is available for designing options.
Click Save

Edit News Stories
Announcements can be edited from the News Stories tab. Let’s check it out!
Click the announcement you would like to edit in the News Stories box
Click the calendar icon
Click Edit. This enables the tools below to make your updates. You can also select Delete to permanently remove the message.

Click Save
Schedule News Stories
Once a news story (message) is created admins are able to set a schedule. For repeat schedules, you will need to create multiple inputs for the specific story that needs repetition. Follow these quick steps to create a schedule.
Inside the News Stories tab, click the message you want to schedule
Click Add New in the News Schedule box

Define the Scope and Target from the dropdowns. This determines who will see the messages when logging in
Scope - All, Company, Region, Group, or Store. Your selection dictates what will become available for the Target dropdown.
Target - The final audience who will see the message.
Select the Start Date and End Date for when the message will appear
Click Add New

Edit Schedule
Editing a schedule is similar to editing a message.
Click the Message you want to update the schedule
Click the Schedule you want to update
Click the calendar icon
Click Edit. You can also select Delete to permanently remove the schedule.
Make your changes and click Save
Table of Contents
For additional questions or assistance please submit a support ticket by visiting the Decision Logic Help Center.
All training videos are located in the Decision Logic Video Vault