This article shows users how to set up and manage the Labor Scheduler. This article does not show users how to build and post employee schedules.
Overview
Users can create multiple schedules to use when creating employee schedules with the Labor Scheduler. For example, stores can have a separate schedule for managers than their employees. Employees can be broken into schedules such as front-of-house, back-of-house, server, hosts, bar, etc.
Before proceeding with the setup, please ensure that your /wiki/spaces/CKBDA/pages/13992040is up-to-date and that POS
ADMINAdmin has Job Codes properly configured for Manager Labor Types.
SchedulesCreate a Schedule
Start Begin by navigating toMaintenance >Labor >Labor :
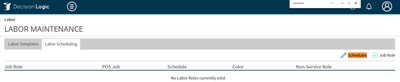
Maintenance > Labor > Labor Scheduling Maintenance.
The first thing that you will need to do is create the Schedules that you will be using.
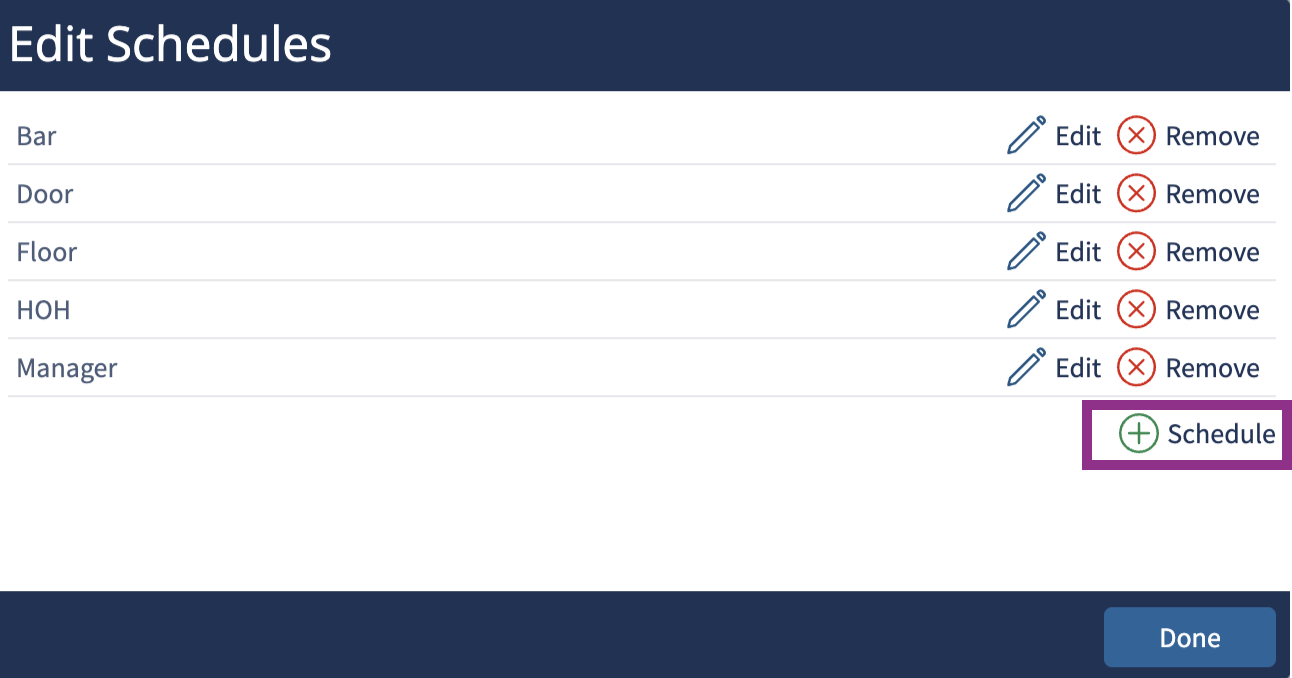
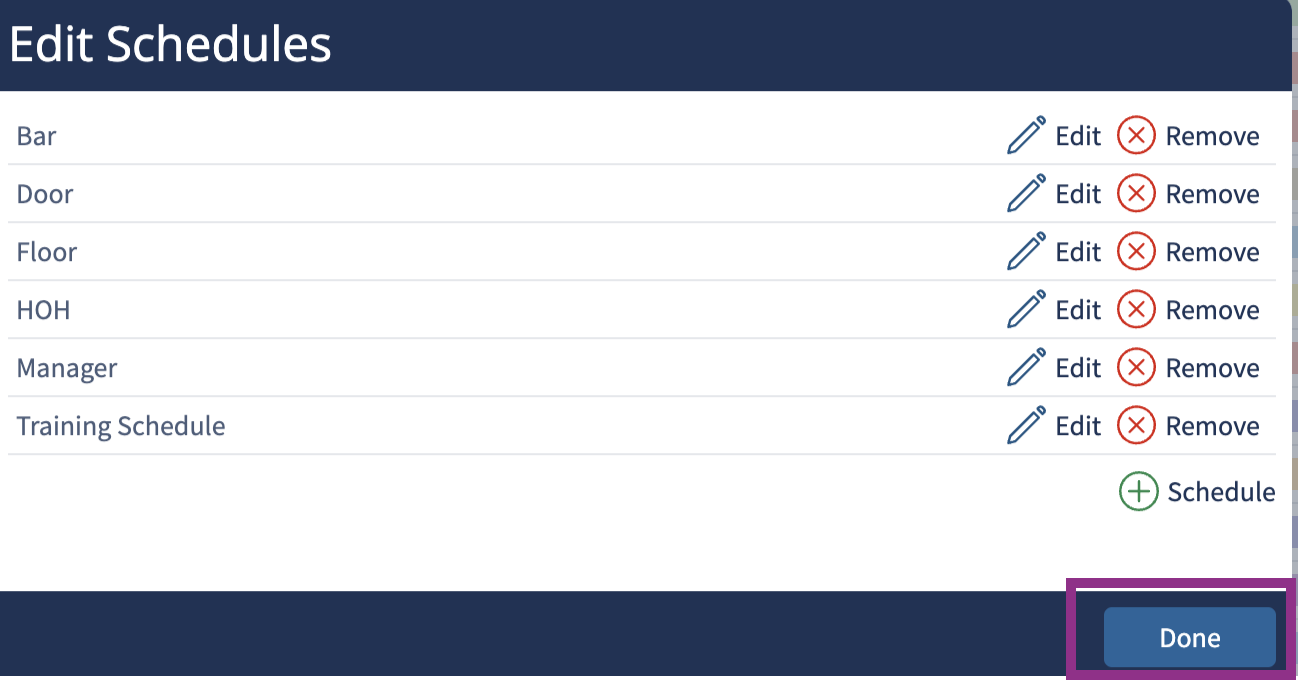
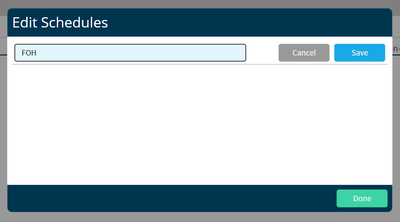
- Click the pencil icon near Schedules in the upper right-hand corner of the page to open the Edit Schedules box.
- Select + Schedule
- Enter a name for the schedule in the text box and select save.
- Repeat this process until you have all of the schedules that you want to work with.
![]() For example, if
For example, if
Click the Labor Scheduling tab.
Click Schedules.

Click +Schedule.
Click Edit to edit an existing schedule.
Click Remove to remove an existing schedule that does not have a posted schedule.
Type in the Schedule’s Name.
Click Save.

Click Done.
| Info |
|---|
If your restaurant has 3 schedules that employees look at to see when they work, create 3 schedules |
, create job roles, and assign them to the correct schedule. |
Table of Contents
| Table of Contents |
|---|
| Info |
|---|
For additional questions or assistance |
, please submit a support ticket by |
visiting the Decision Logic |
Roles
Create Job Roles
After users have create a schedule or multiple schedules, the next action to complete is to create job roles and assign the job role to a schedule. These job roles can be added as both Service and Non-Service hours to further define using Labor Templates MaintenanceTo create roles start . Employees are created in the Employee Roster.
Jobs that have the “Manager” box checked in POS Admin will not be included in the labor table at the bottom of the Labor Scheduler when being employee schedules.
Begin by navigating toMaintenance >Labor >Labor :
Maintenance > Labor > Labor Scheduling Maintenance.
Assign the Job Roles that you will be using on your schedules
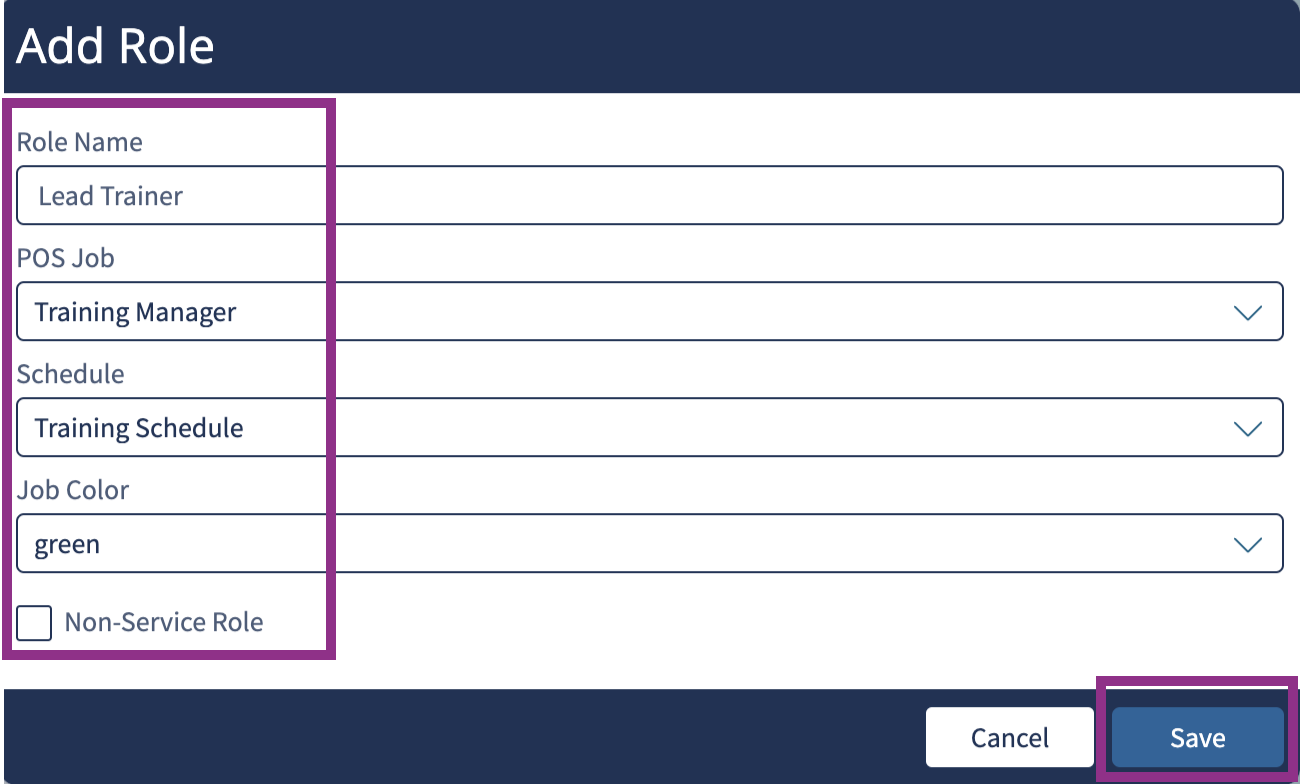
- Role name that you want your employees to see on the schedule
- POS Job Code from the Employee Roster that will correspond with this Role
- You can have any number of Roles associated with a single POS Job Code
- The Schedule that you want this Role to be on
Click the Labor Scheduling tab.
Click +Job Role.

Type in the Role Name.
Select a POS Job from the drop-down.
Select a Schedule you want this role to be on.
Select a Job Color from the drop-down.
The color that you choose is used to help distinguish between scheduled shifts for easier viewing.
Check Non-Service Role if the role should be used when configuring non-service hours in Labor Templates Maintenance. If this is a service role, leave the box unchecked.
Click
Save
Service Role

Non-Service Role

.